In strong wind, the classic top-landing makes you lose precious minutes trying to burn altitude above the landing zone. The below-launch approach lets you lose altitude where lift is weaker, rebuild with short beats, and land uphill with low energy. Watch the video and follow the step-by-step guide.
Want to practice it safely? Book an advanced training in Gran Canaria.
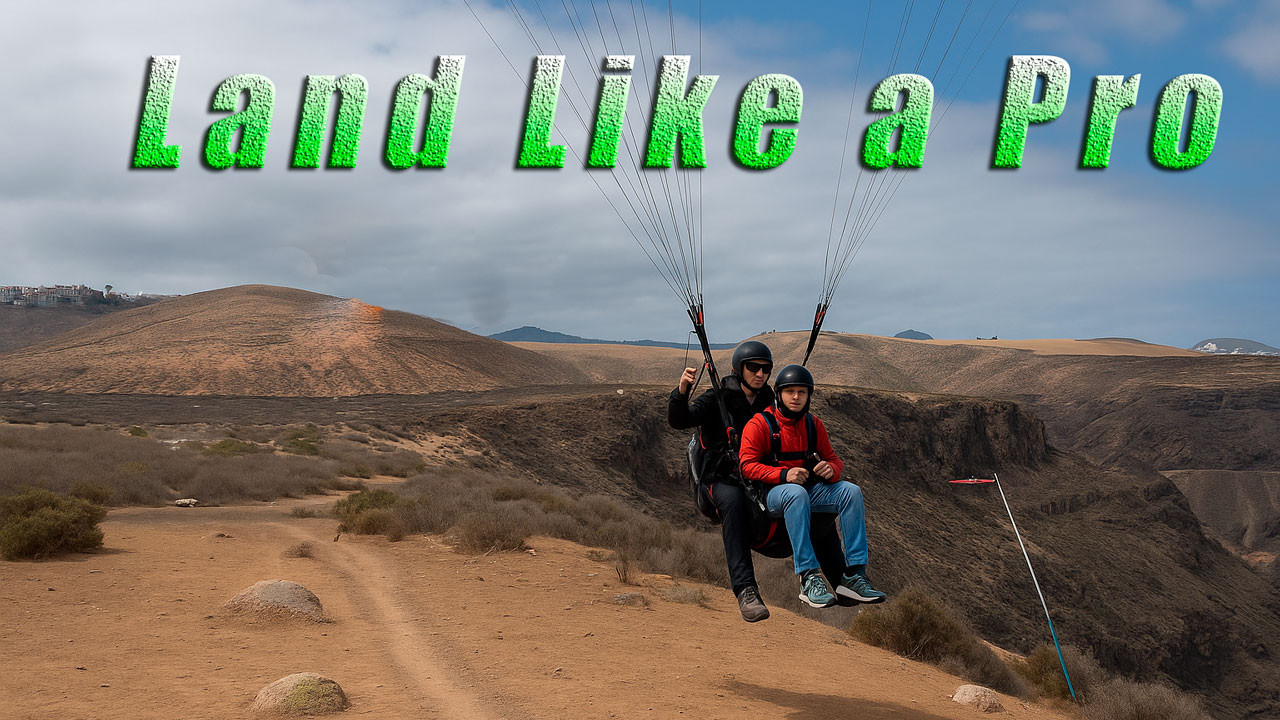
What is the below-launch approach and when to use it
This is an advanced landing technique designed for strong wind or for operations where you need to turn flights around quickly (commercial tandem, courses with many students, etc.).
Instead of burning altitude above the LZ, you lose height in an area with less lift, rebuild with short beats in the lift band, and finish with a low-energy uphill top-landing.
Conditions and prerequisites
- Clean wind (avoid lee/rotor and crowds near launch).
- Clear escape route toward the main LZ.
- Enough height and space to practice solo before carrying a passenger.
- Recommended level: advanced pilots / professional tandem instructors.
Step-by-step (safe method)
- Assess the ridge and the wind. Check the windsock, vegetation, and possible lee bubbles.
- Lose altitude where lift is weaker. If necessary, move away from the main lift band.
- Rebuild with short beats. Short passes close to the lift band; turn before the spine.
- Set up your final with a flat figure-8 or mini downwind-base-final, keeping horizontal spacing.
- Come in at an angle to the slope and slightly into the wind; use a progressive flare for touchdown.
Adjustments: spiral, big ears, and combinations
- Spiral: effective for losing altitude quickly outside the lift band.
- Big ears: useful for fine-tuning descent rate and adding stability.
- Spiral + one big ear combo: adds extra control in steady sink areas.
- Controlled wingovers: another way to lose height, only with plenty of experience and never too close to the ridge.
Safety: Always practice solo first, without a passenger, until you have it fully mastered.
Final approach: angle and wind alignment
The key to a smooth touchdown is to approach at an angle to the slope while keeping a slight heading into the wind. This reduces horizontal energy, improves yaw control, and gives you margin for a progressive flare.
Common mistakes
- Burning altitude over the LZ in strong wind (you lose time and fine control).
- Turning too late near spines or obstacles.
- Chasing lift into turbulent zones.
- Arriving too fast and flaring hard and early.
- No plan B: no downhill escape route.
Don’t forget to subscribe to our YouTube channel
Quick FAQ
Who is this technique for?
For pilots with advanced experience in ridge flying and top-landing; make sure to practice solo first.
What wind conditions work best?
With laminar moderate-to-strong wind, avoiding rotor or cross gusts.
Do I need special equipment?
Regular wing and harness. Check brake travel, trims, and make sure your helmet fits properly (pilot and passenger).
Spiral or big ears?
Depends on the conditions: the spiral descends faster; big ears are more stable and adjustable. You can combine them.
Wingovers near the ridge?
Only for experts and with plenty of margin. Always keep a downhill escape route open.